
Data decisioning with Braze
Braze enables cross-channel customer experiences.
Supported features

DSR Automation
Fulfill user deletion, access, and data requests across your stack in minutes.

Data Inventory
Centralize your compliance ops with a live data map.

Preference Management
Collect and enforce user communication preferences everywhere they matter.

Consent Management Platform
Collect and enforce consent across frameworks, domains, apps, and regions.
Documentation
Transcend allows you to programmatically access, erase, and opt users out of communication in the Braze platform in accordance with data privacy regulations like GDPR and CCPA.
Setting up the Braze integration
To get started, make sure you're logged in to Transcend. If not, log in to Transcend here (https://app.transcend.io/login). To configure the Braze integration, you'll want to:
- Navigate to Integrations > Add integration > Braze.
- When your account is provisioned you will log in to one of the corresponding URLs: https://dashboard-01.braze.com, https://dashboard-02.braze.com, https://dashboard-01.braze.eu.
Use the table here to figure out what subdomain you should plug in based on your dashboard URL.
To create a new REST API Key, visit the Developer Console on your Braze Dashboard.
3. Success! Once connected, navigate to the Privacy Center tab. You'll need to map the data in Braze to your Data Practices. To do this, create a new Category as well as a new Data Collection with the appropriate naming convention (e.g. "Mailing Lists or User Profile"). When you're done, hit publish.
4. Navigate back to your Data Inventory and click into the Braze data silo. Expand "Manage Datapoints" and select the Collection Label (Category) you created in the previous step from the dropdown. You can also choose which data actions (e.g. access or erasure) are enabled for which datapoints.
5. Next, while still in the Braze data silo, expand "Manage Identifiers". Check the respective boxes for which identifiers you'd like enabled. As an example, if you'd like Transcend to search users by email address, you'd check the box to enable the Email Address identifier. Note: if identifiers are not enabled correctly, we may not be able to process requests for certain users.
6. Done!
Testing
We recommend testing requests before you start processing requests from end-users. To do this:
- Go to Privacy Center and click "View your Privacy Center".
- From your Privacy Center, click Take Control, then Download my data. You'll need to enter your email or login to authenticate yourself before submitting the request.
- Check your email for a message from Transcend. You'll be asked to click on a verification link to verify the request. Confirm your download request.
- Next, back in DSR Automation, navigate to the Incoming Requests tab and select your request. If you don't see the request here, contact us at support@transcend.io.
- Once you've clicked into your request, navigate to the Data Silos tab and select Braze. Inspect the data returned.
- Finally, navigate to the Report tab and click Approve and Send. You should receive the report at the email address you submitted with the request.
- Done!
Transcend seamlessly unifies fragmented data permissions across all your systems
Share your priority systems and data permissioning needs, and our team will follow up directly with a demo and action plan specific to your business.
Automate data governance across your systems
The broadest, deepest integrations
Manage data decisions across every system, including SaaS tools, data stores, warehouses, set up in a few clicks. One integration handles identity mapping, DSRs, discovery, and preference updates, instead of stitching together point solutions for each.
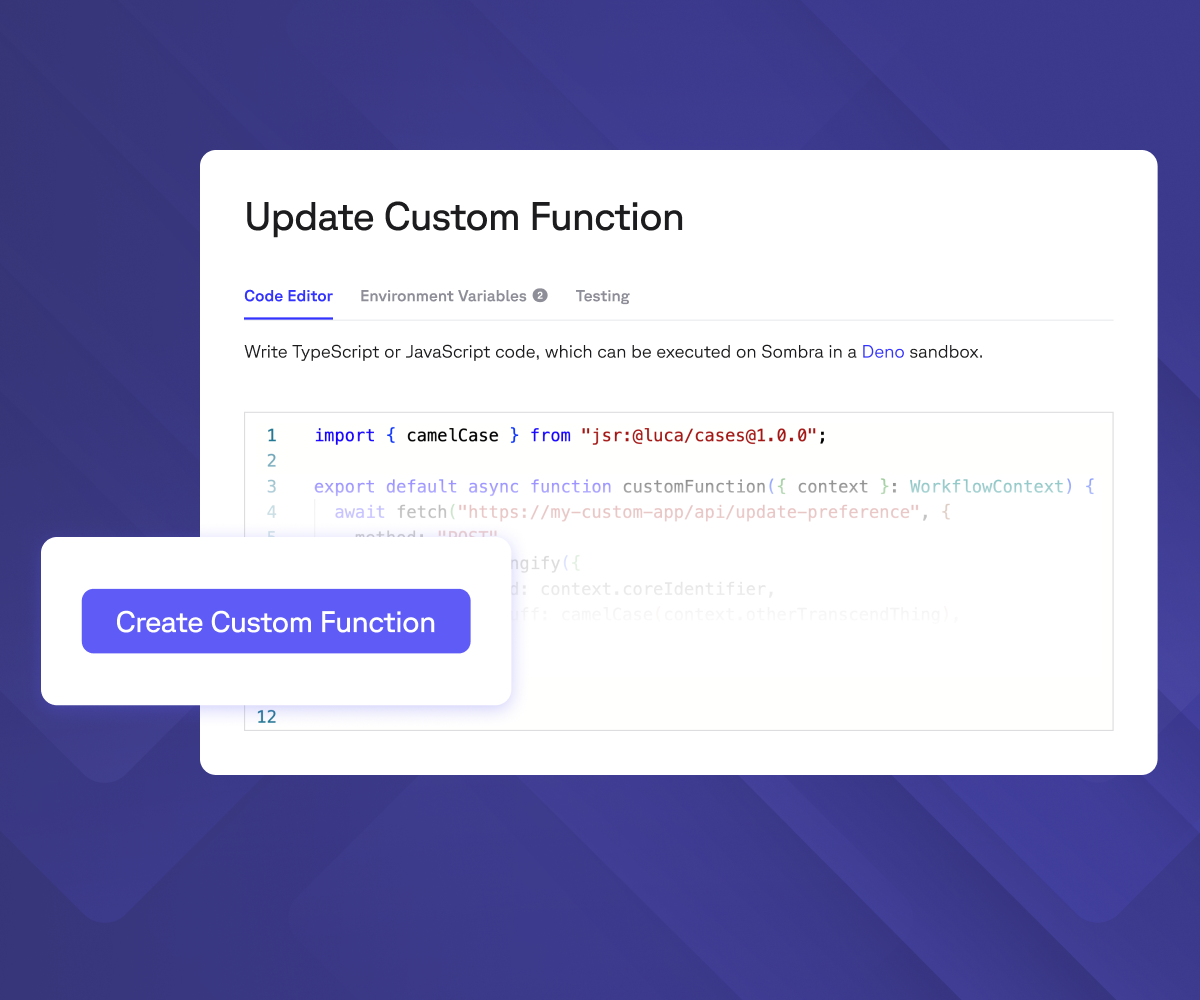
Unmatched extensibility
Homegrown system? Custom Functions let your engineering team write code once and plug it directly into Transcend's automation with no extra servers and zero infrastructure to maintain.
Read docs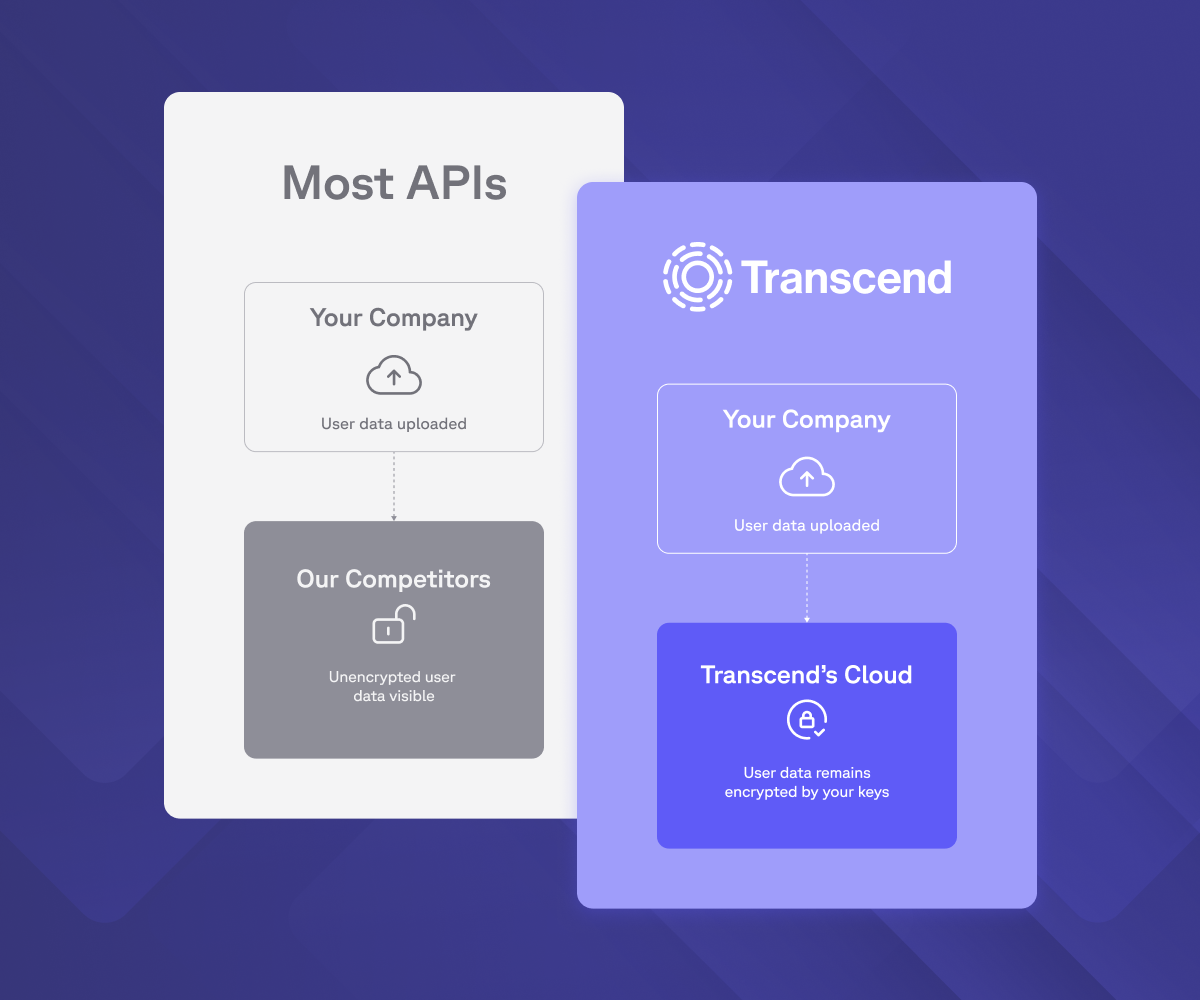
Security-first approach
Every integration runs on zero-trust architecture: isolated execution, private subnets, and credentials that never sit in shared infrastructure. The same Sombra gateway that protects your data protects every connection into it.
Learn more“Customers reported that the integrations were seamless despite the patchwork of data sources Transcend was required to integrate into.”
Ryan O'Leary
Research Director for IDC's Security and Trust Program
Your AI runs on integrations. Ready to govern them?
Every integration feeds the same question: "Can I use this data?" Trusted by Fortune 100 companies to answer it at scale, across every system.
Book a demo
MarketScape Leader

Highest User Adoption

Technology Fast 500

World Changing Ideas

Solution of the Year
Most Innovative Companies

Technology of the Year