Data decisioning with Chargebee
Chargebee is a billing management system for SaaS and web apps.


Transcend seamlessly unifies fragmented data permissions across all your systems
Share your priority systems and data permissioning needs, and our team will follow up directly with a demo and action plan specific to your business.
Automate data governance across your systems
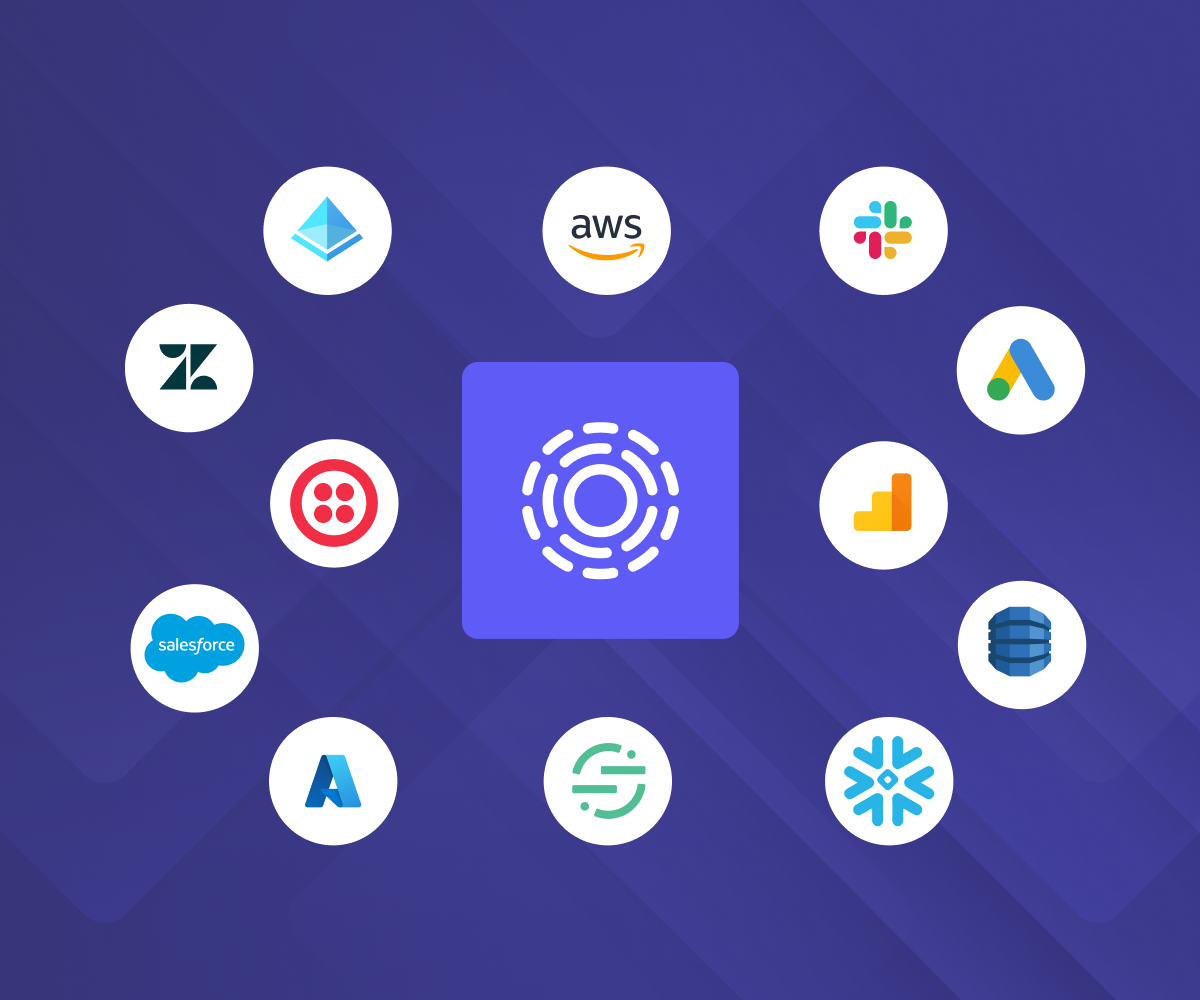
The broadest, deepest integrations
Manage data decisions across every system, including SaaS tools, data stores, warehouses, set up in a few clicks. One integration handles identity mapping, DSRs, discovery, and preference updates, instead of stitching together point solutions for each.
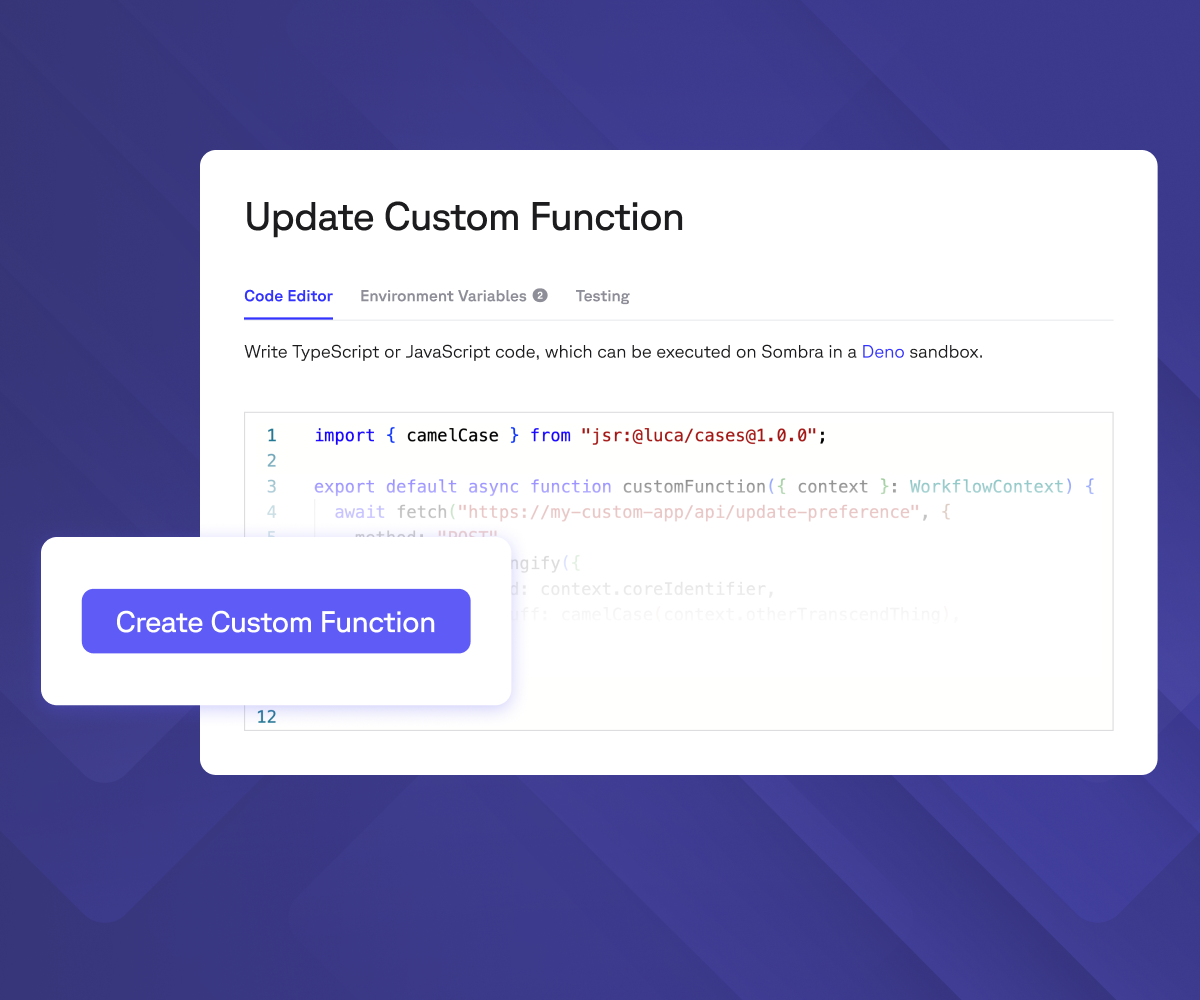
Unmatched extensibility
Homegrown system? Custom Functions let your engineering team write code once and plug it directly into Transcend's automation with no extra servers and zero infrastructure to maintain.
Read docs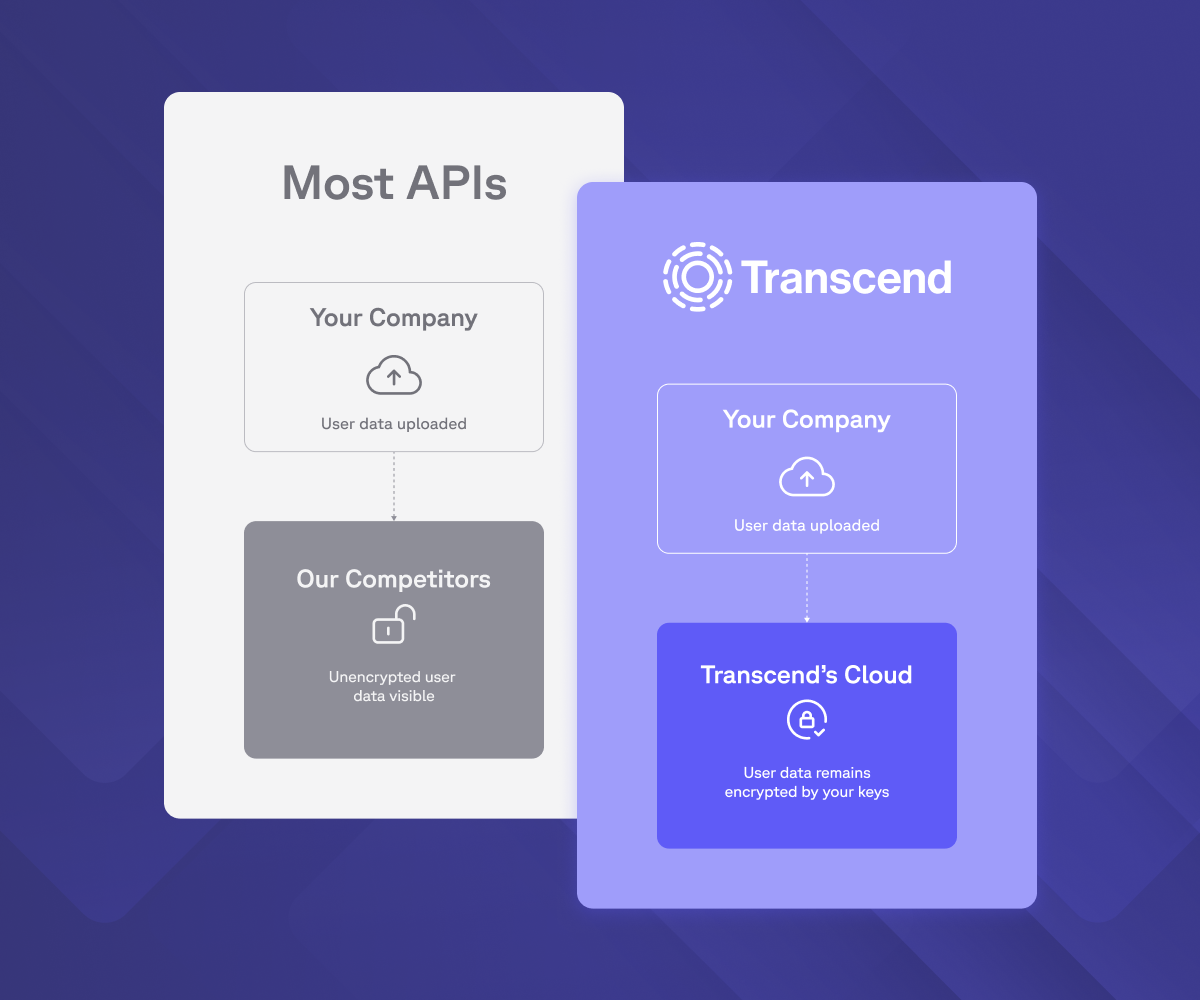
Security-first approach
Every integration runs on zero-trust architecture: isolated execution, private subnets, and credentials that never sit in shared infrastructure. The same Sombra gateway that protects your data protects every connection into it.
Learn more“Customers reported that the integrations were seamless despite the patchwork of data sources Transcend was required to integrate into.”
Ryan O'Leary
Research Director for IDC's Security and Trust Program
Your AI runs on integrations. Ready to govern them?
Every integration feeds the same question: "Can I use this data?" Trusted by Fortune 100 companies to answer it at scale, across every system.
Book a demo
MarketScape Leader

Highest User Adoption

Technology Fast 500

World Changing Ideas

Solution of the Year
Most Innovative Companies

Technology of the Year